

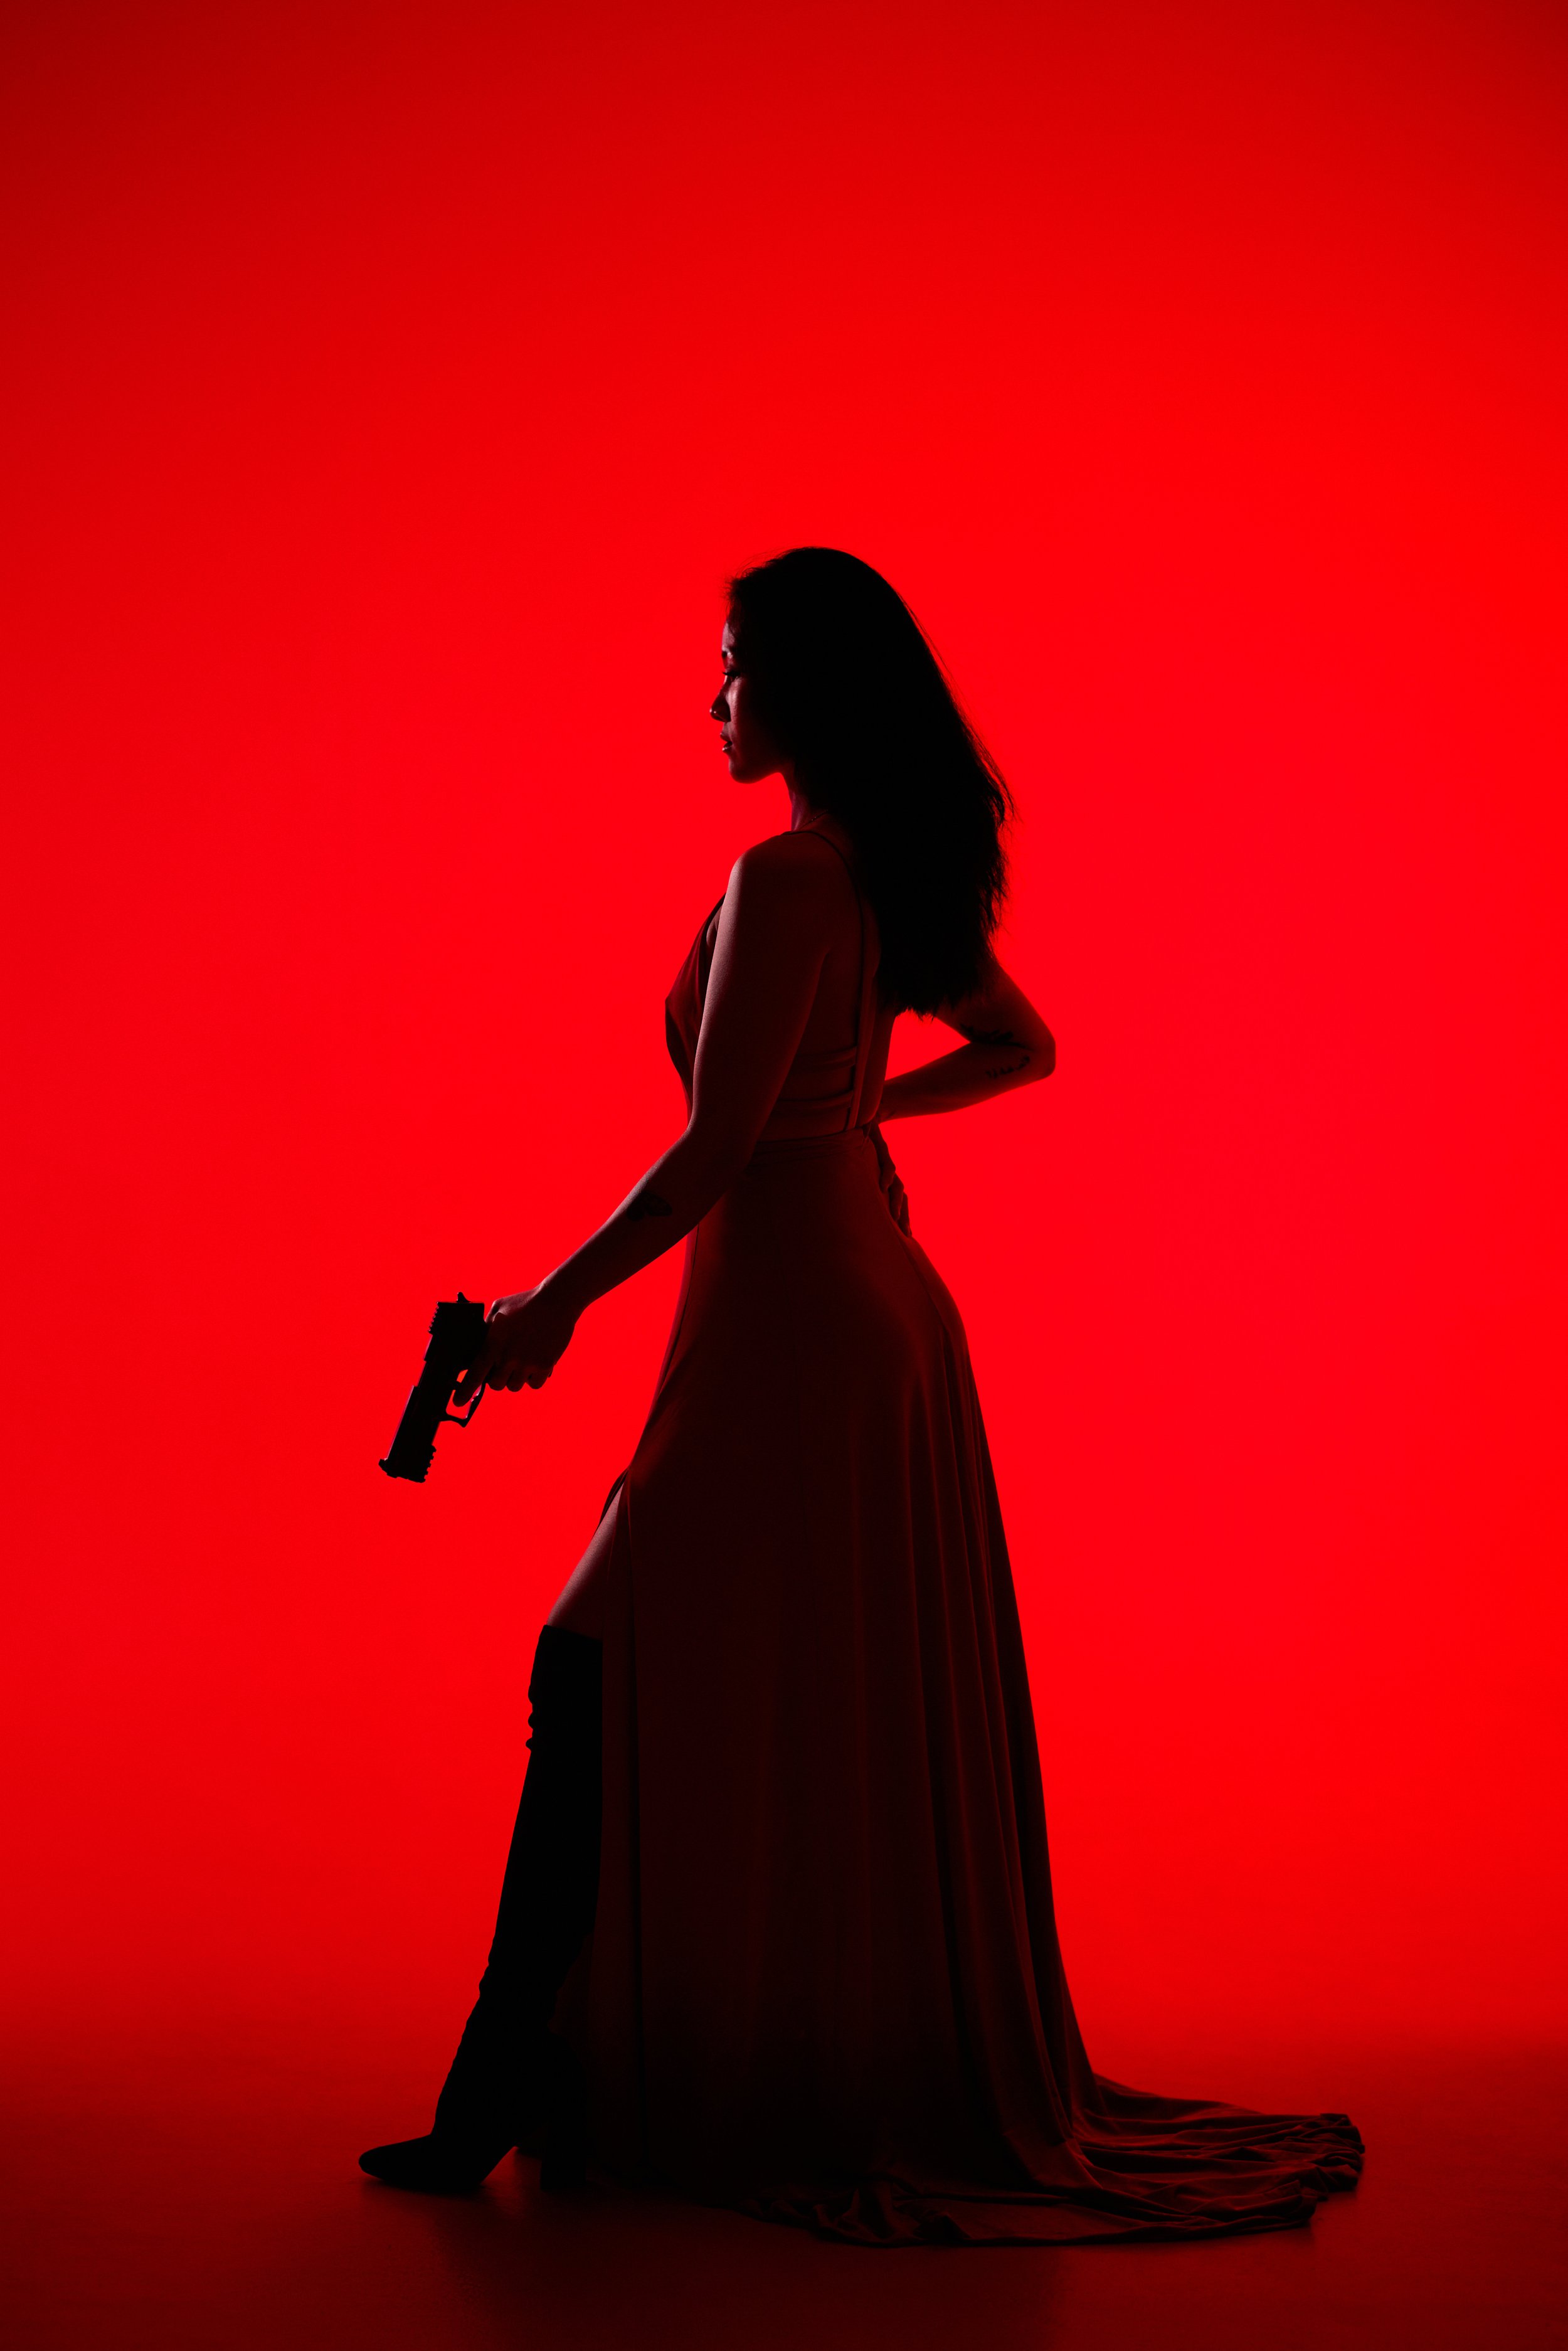
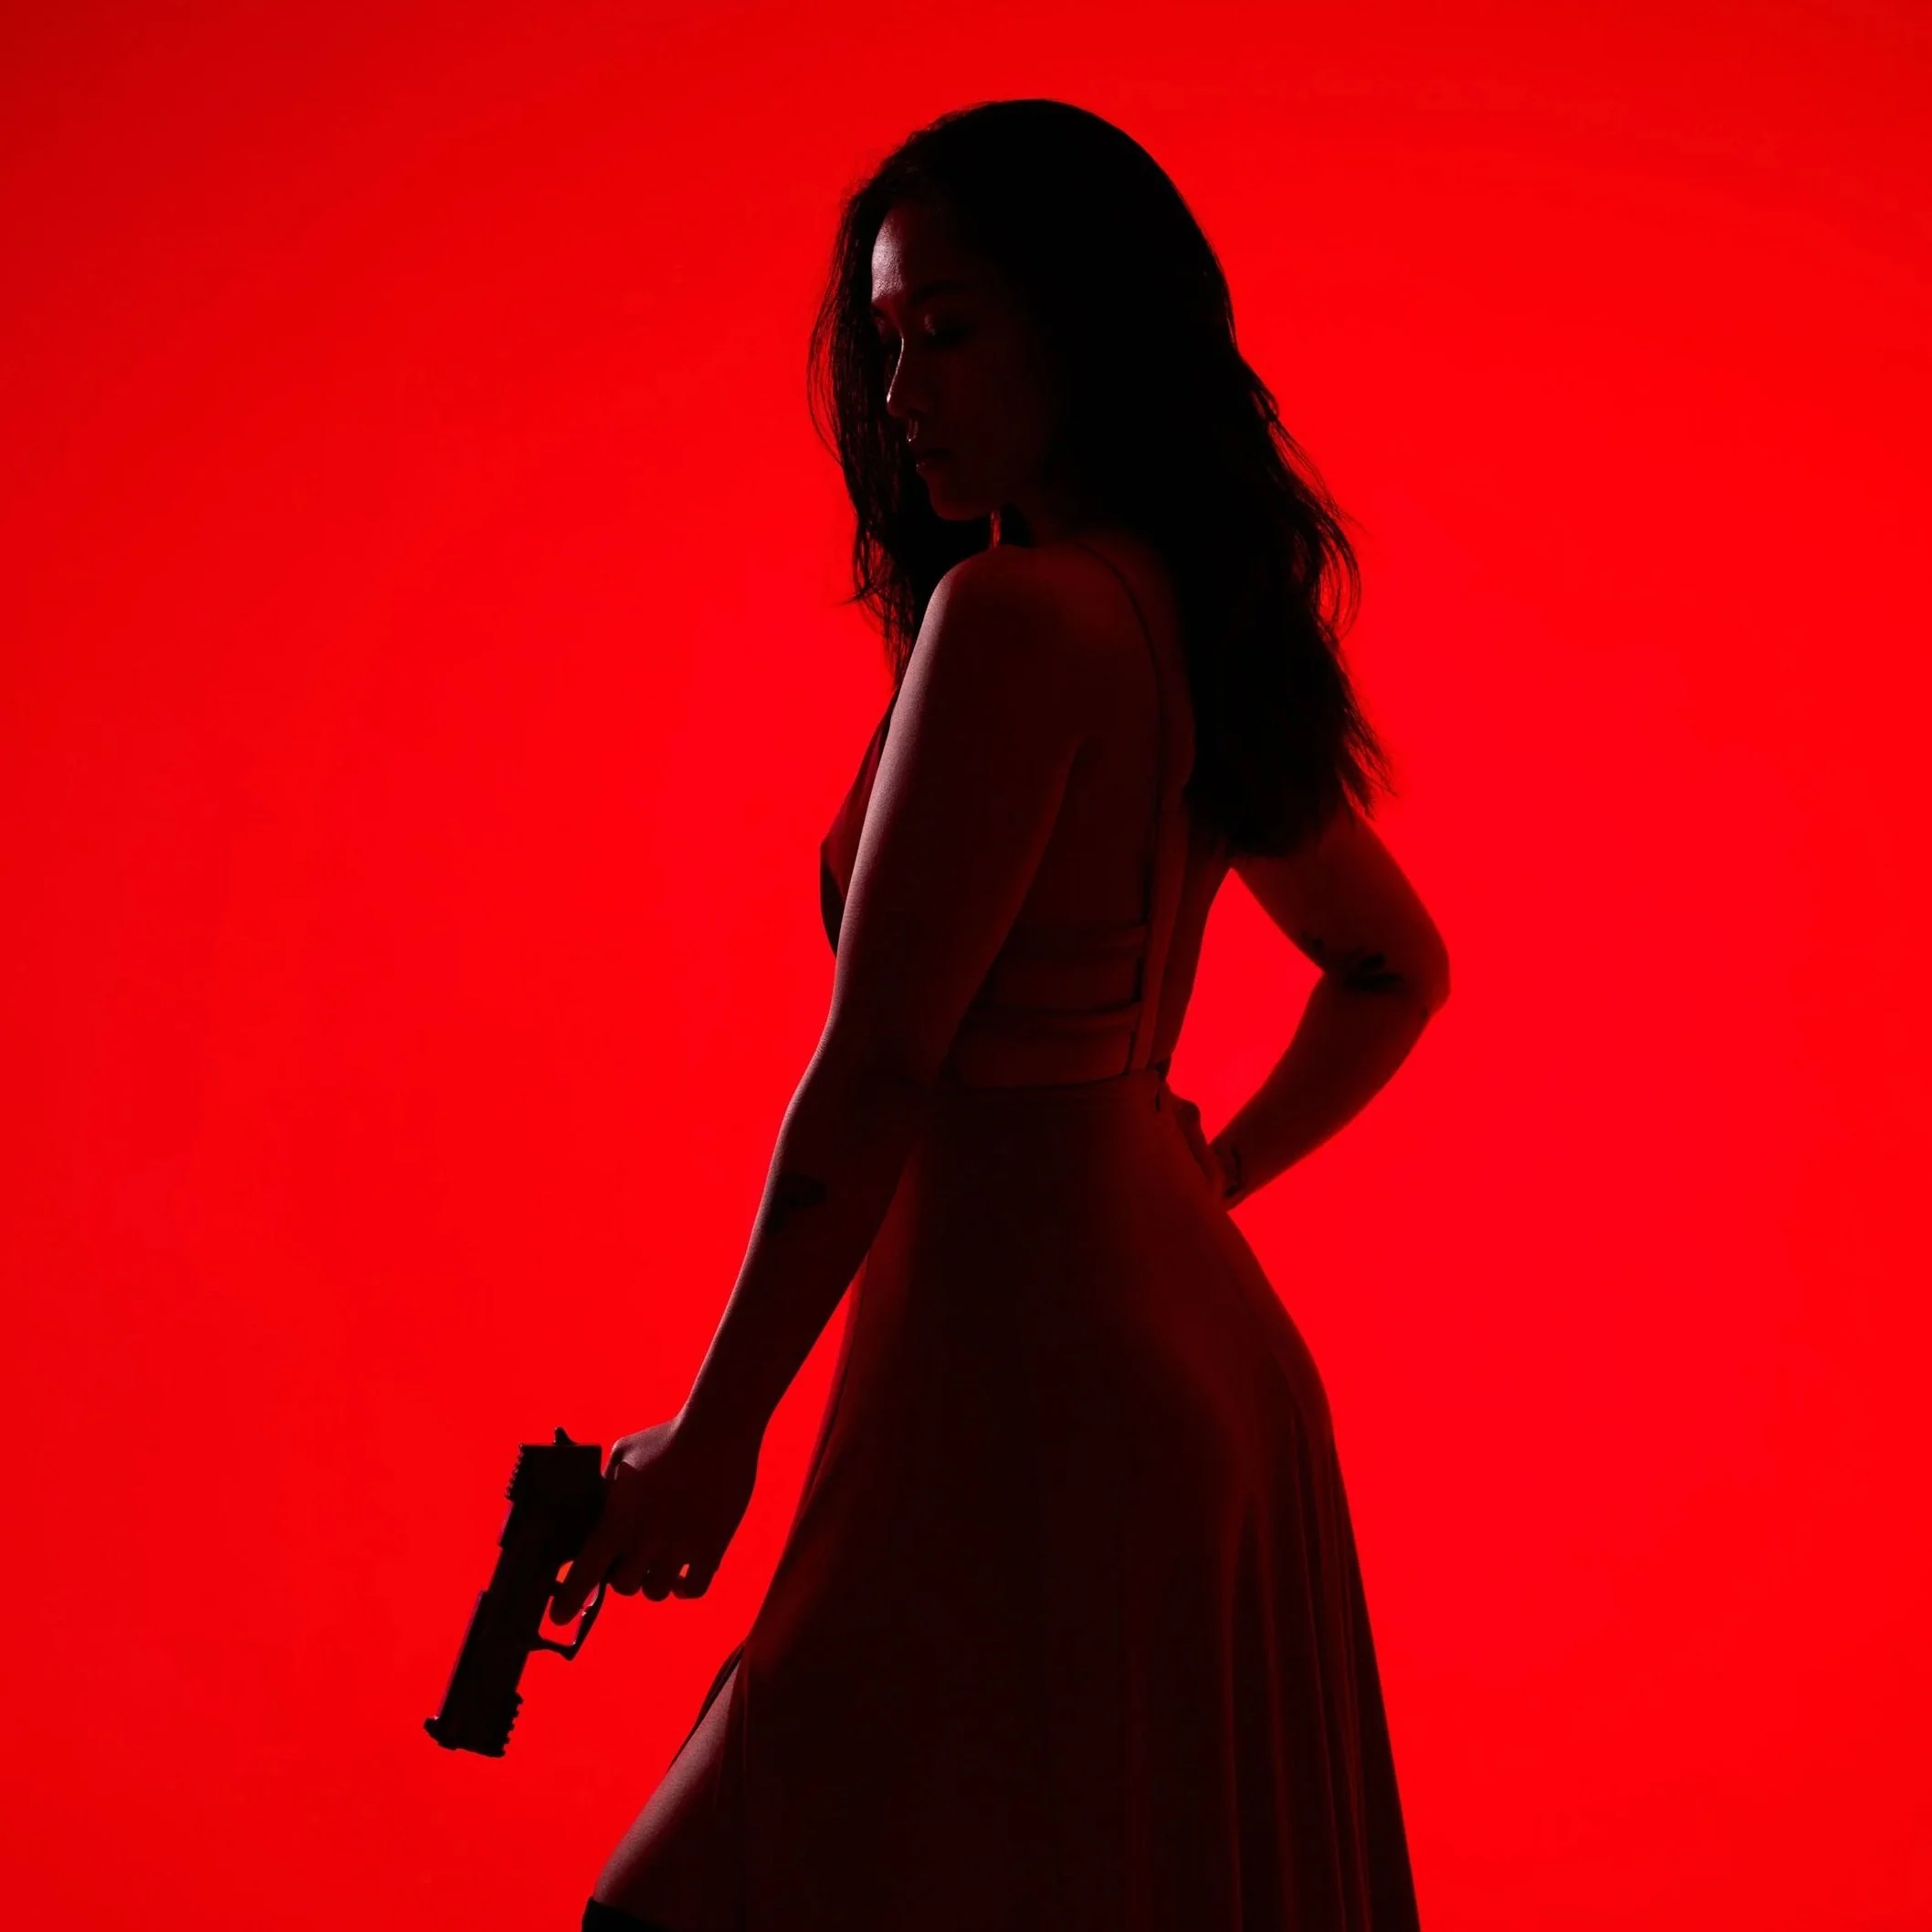
This striking silhouette portrait was achieved entirely with RGB lighting in-camera, using careful light placement and colour control to create deep, saturated reds without losing shape or definition. The result is a bold, high-contrast image that balances simplicity with strong visual impact. In this guide, I’ll break down the inspiration, process, and steps to recreate this cinematic look.
Inspiration
Inspiration strikes when you least expect it. Sometimes it’s born in the mood board stage, other times it ambushes you mid-shoot. This one hit the second our model Ivy slipped into a thrifted dress we’d snagged just days earlier, suddenly she wasn’t just Ivy, she was Nikita.
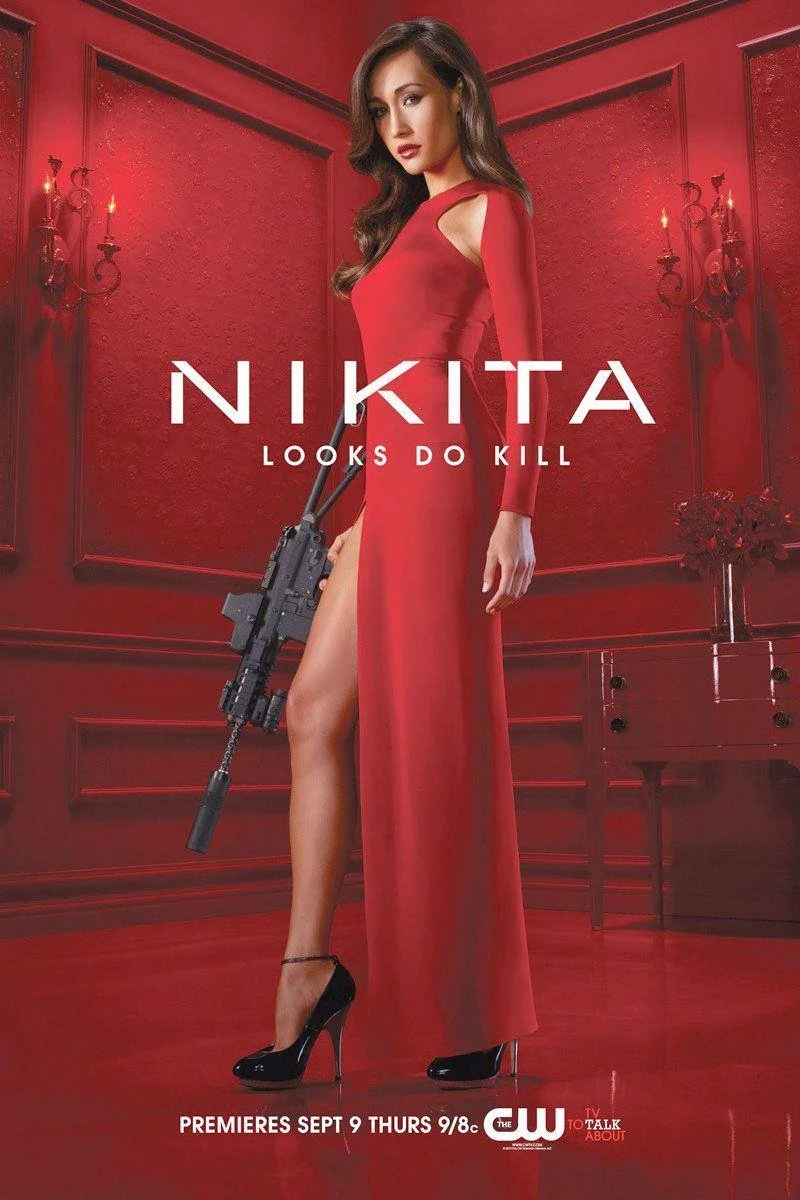
Channelling the bold, sexy, and razor-sharp energy of the 2010 series staring Maggie Q, we went full cinematic assassin!
This Shoots Inspiration.
Model Ivy’s striking resemblance to iconic Assassin Nikita (Portrayed in the 2010 TV Series by Maggie Q) in these shots was no accident.
Bold Sexy and just a little DEADLY
Deep crimson backdrop. Minimal set. A silhouette with a prop gun that screams danger, secrecy, and allure. The result? A frame that feels like it belongs on a blockbuster poster; deadly, stylish, and impossible to ignore.
Process: How to Recreate This Look
Step 1.
Styling
For this shoot we had a beautiful dress with strong clean lines and dramatic tailoring. When it comes to styling, it’s important to think of a character or theme, as this helps bring together accessories, hair style and even how the model poses.
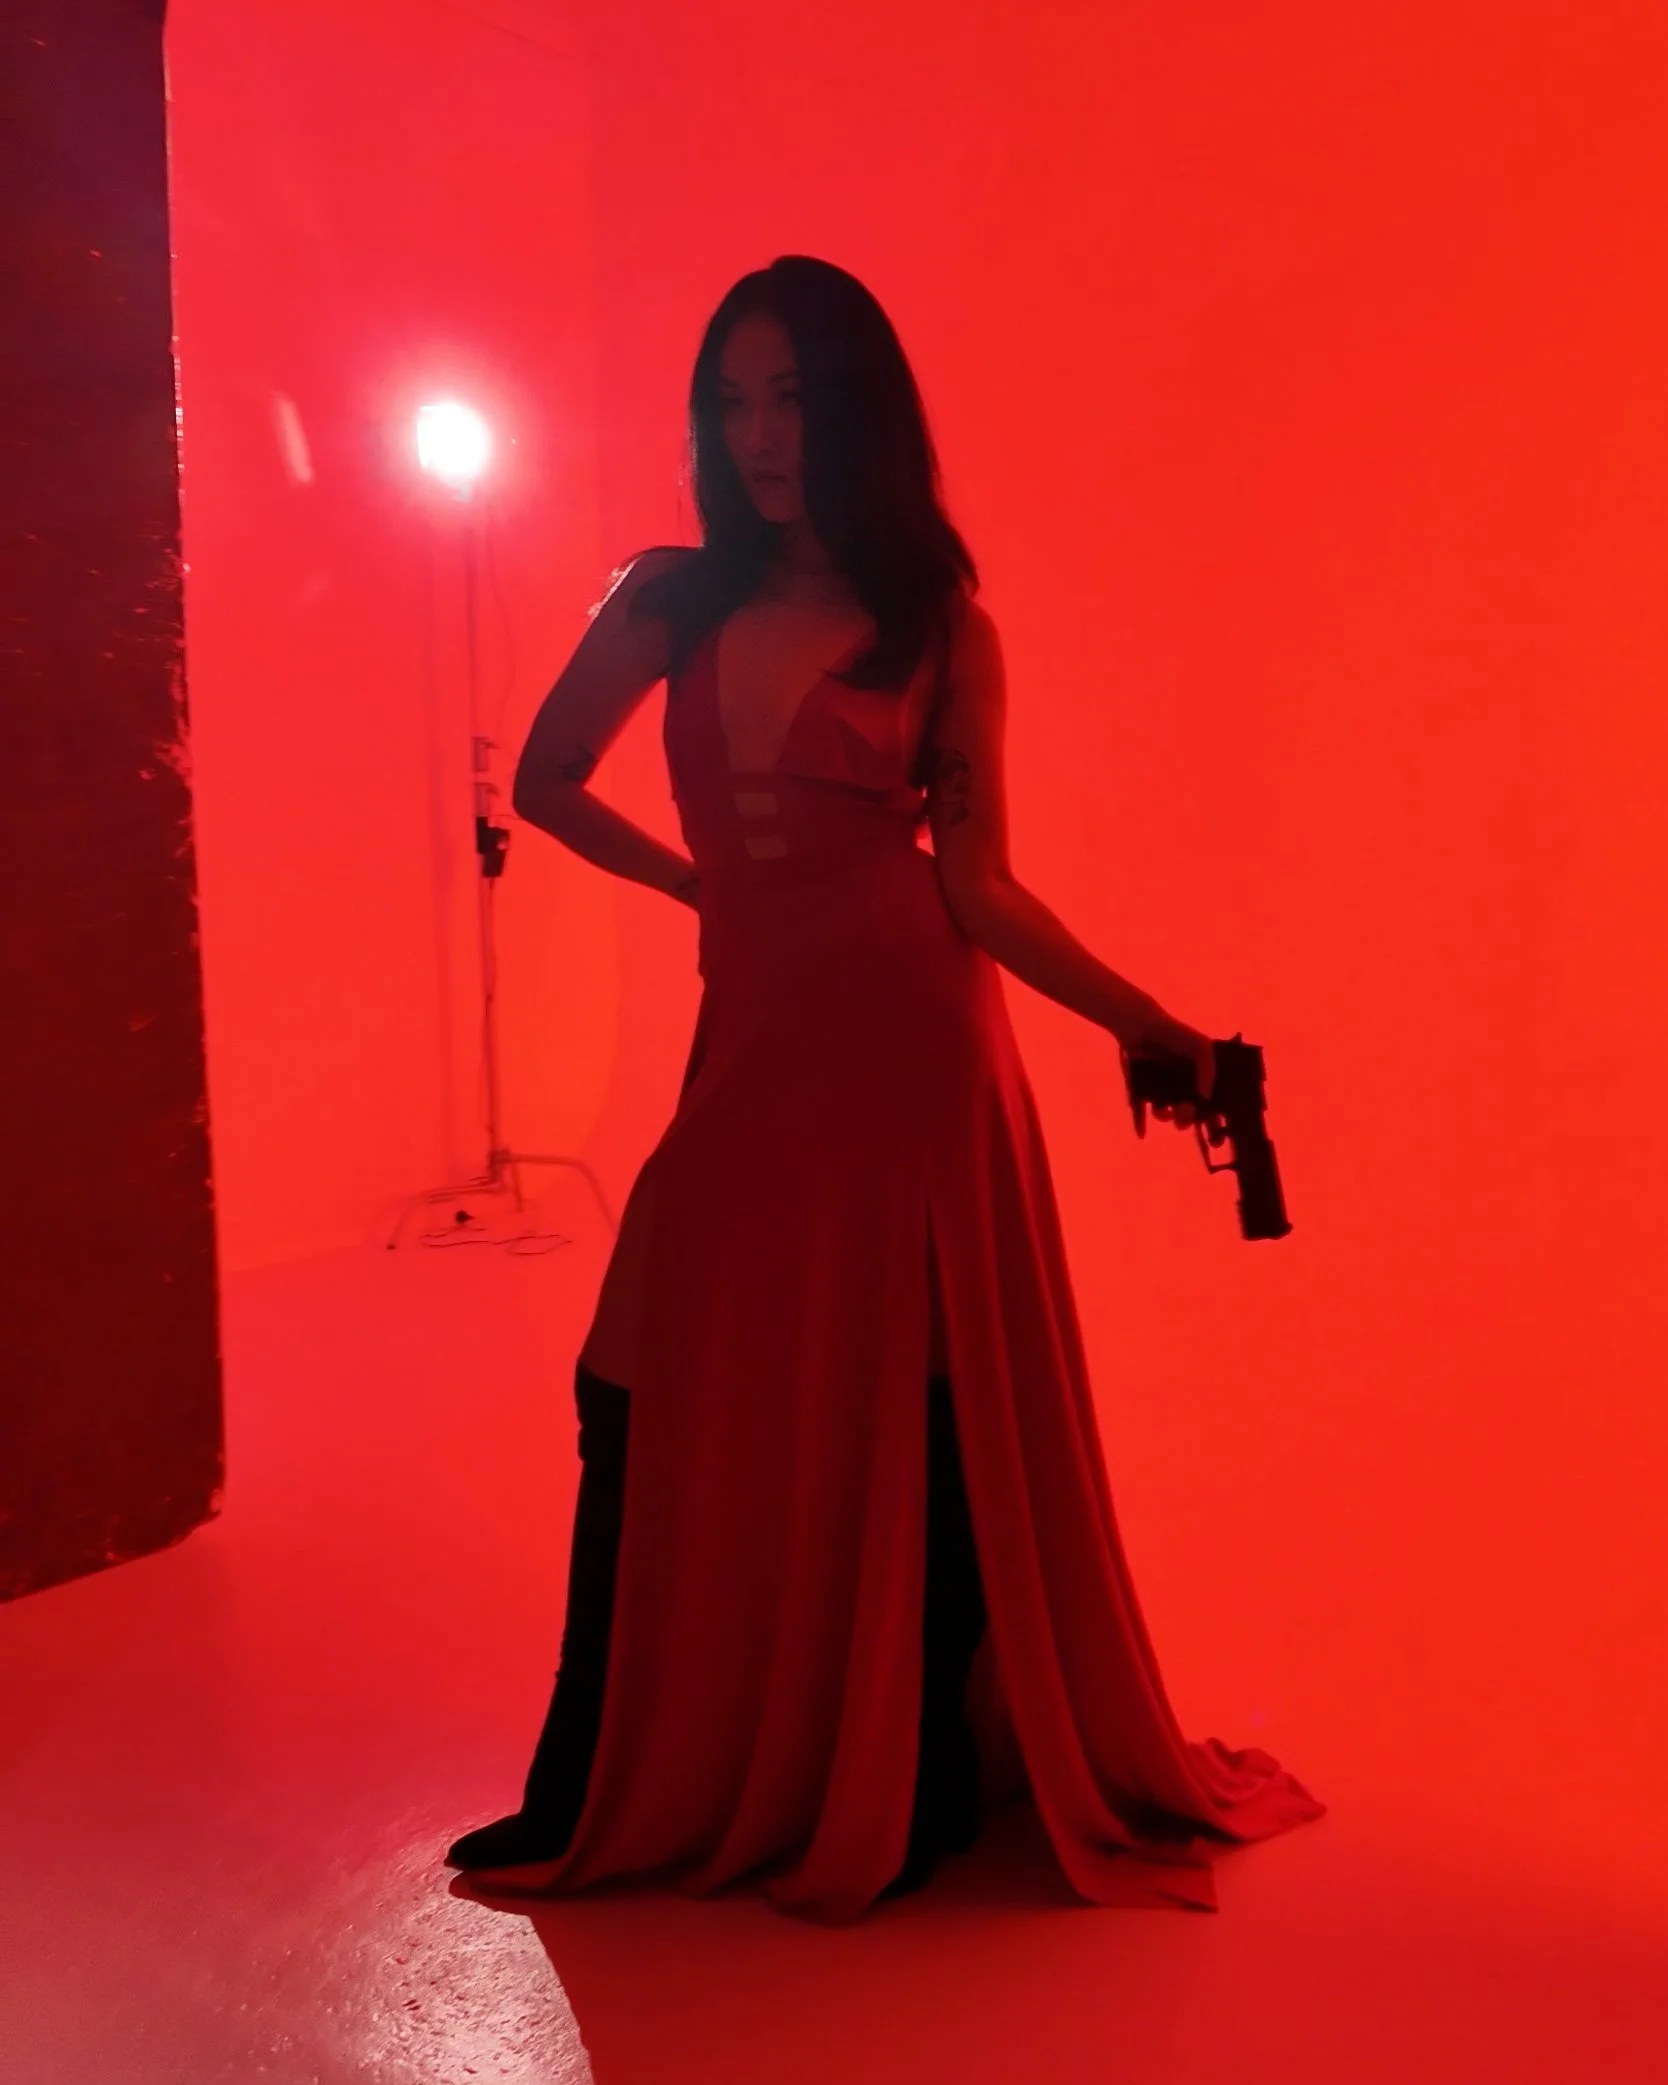
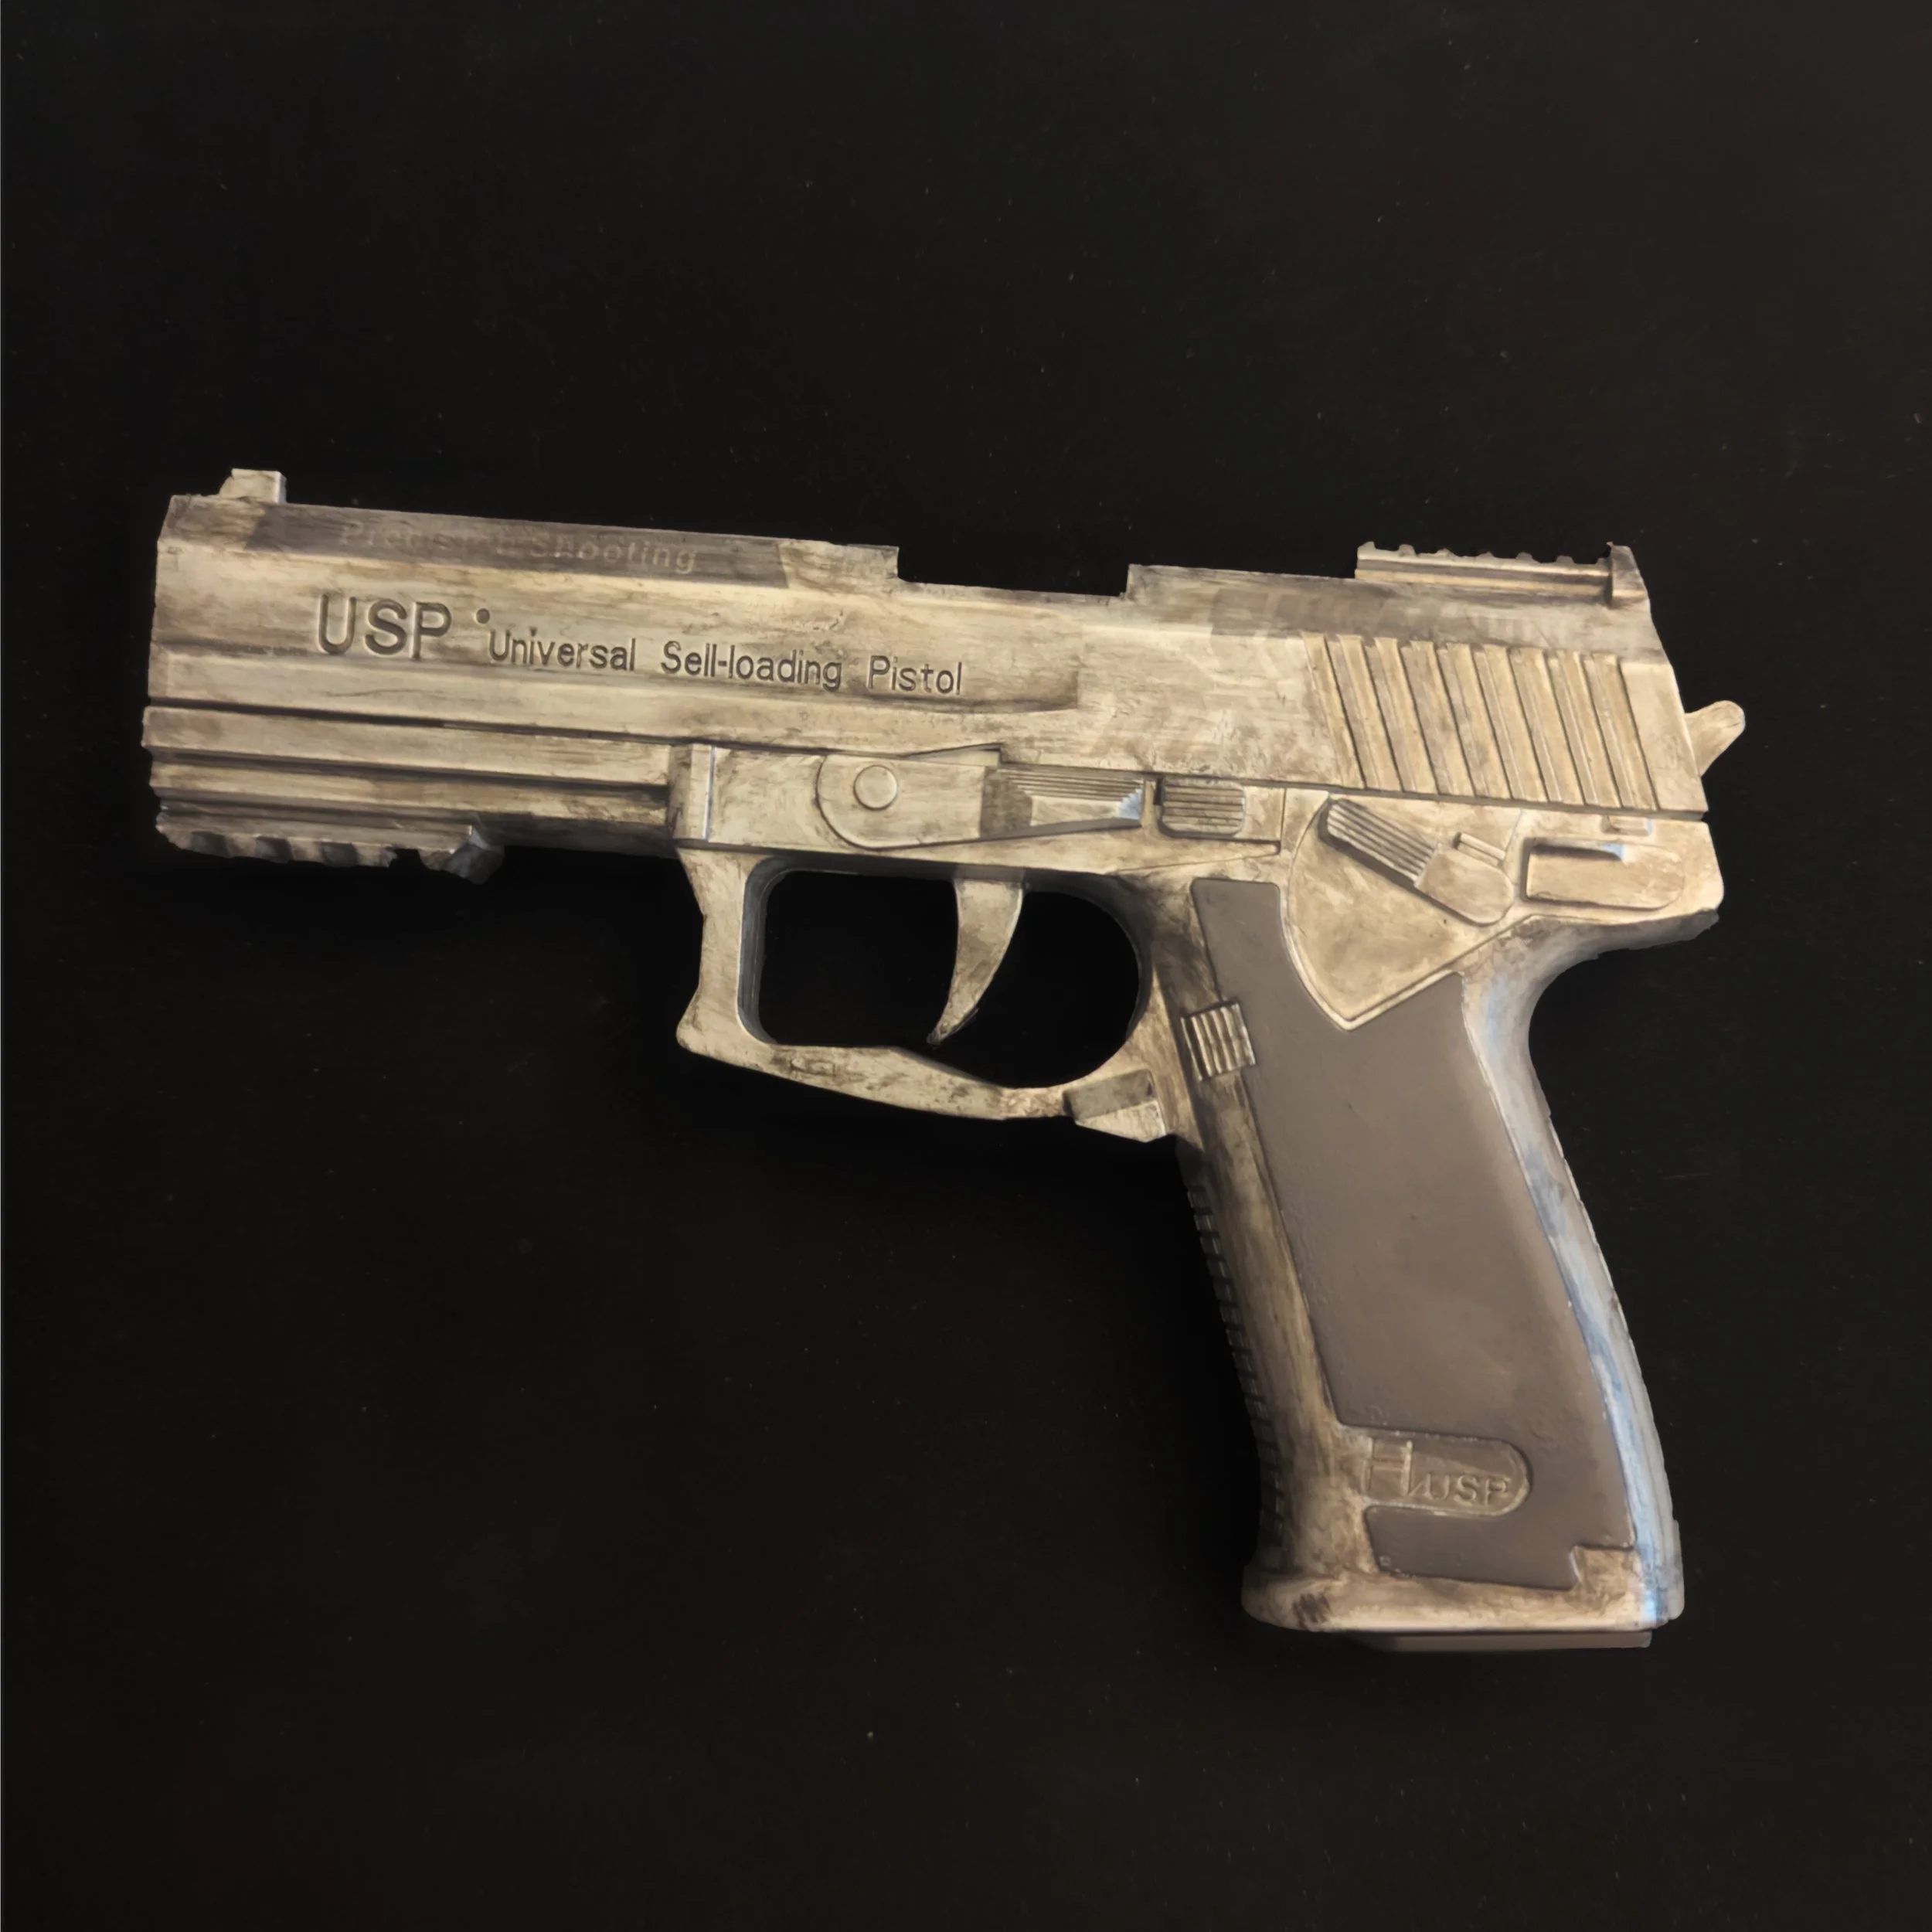
We also used a prop gun to add narrative to the shot. this Gun was a simple cheap plastic toy we bought online, then spray painted metallic silver and using a dry brush technique with regular black acrylic paint, added an aged, rustic look.
TIP: Choose clothing with clear outlines or dramatic shapes and avoid overly textured fabrics to make your silhouette read well against a strong colour background.
Step 2.
Lighting the Room (Large 120cm Octabox on FC-500c)
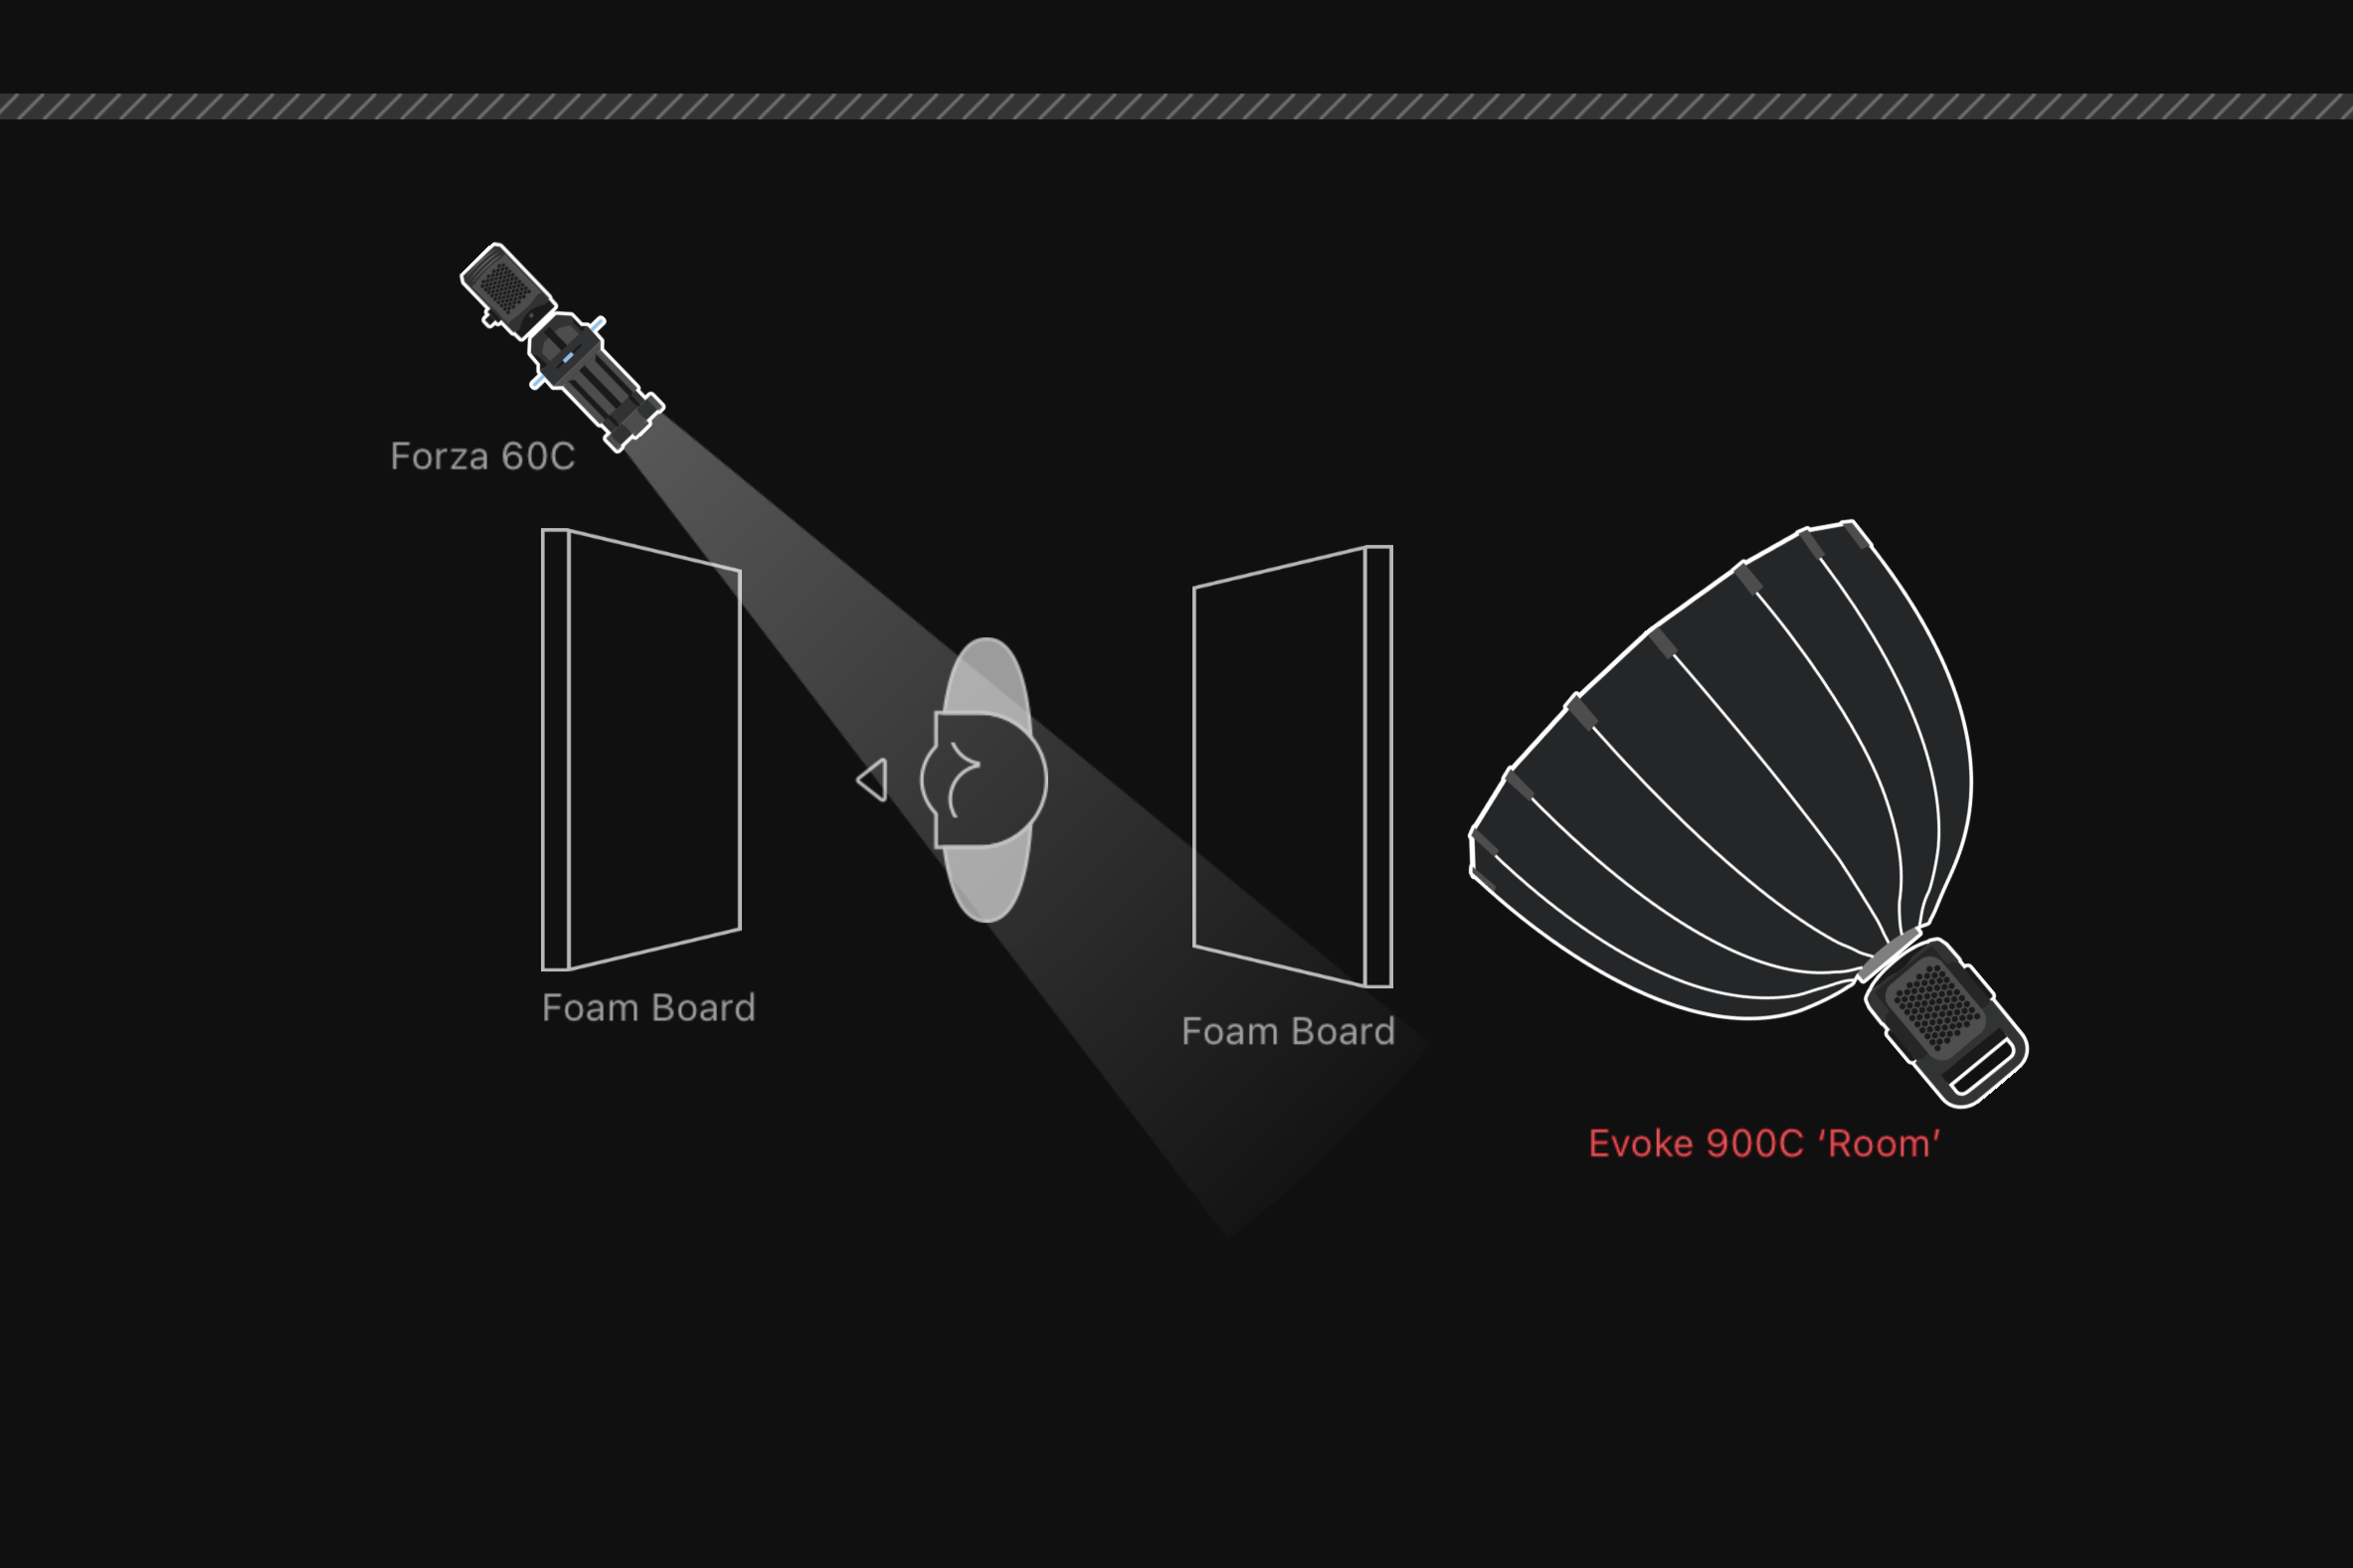
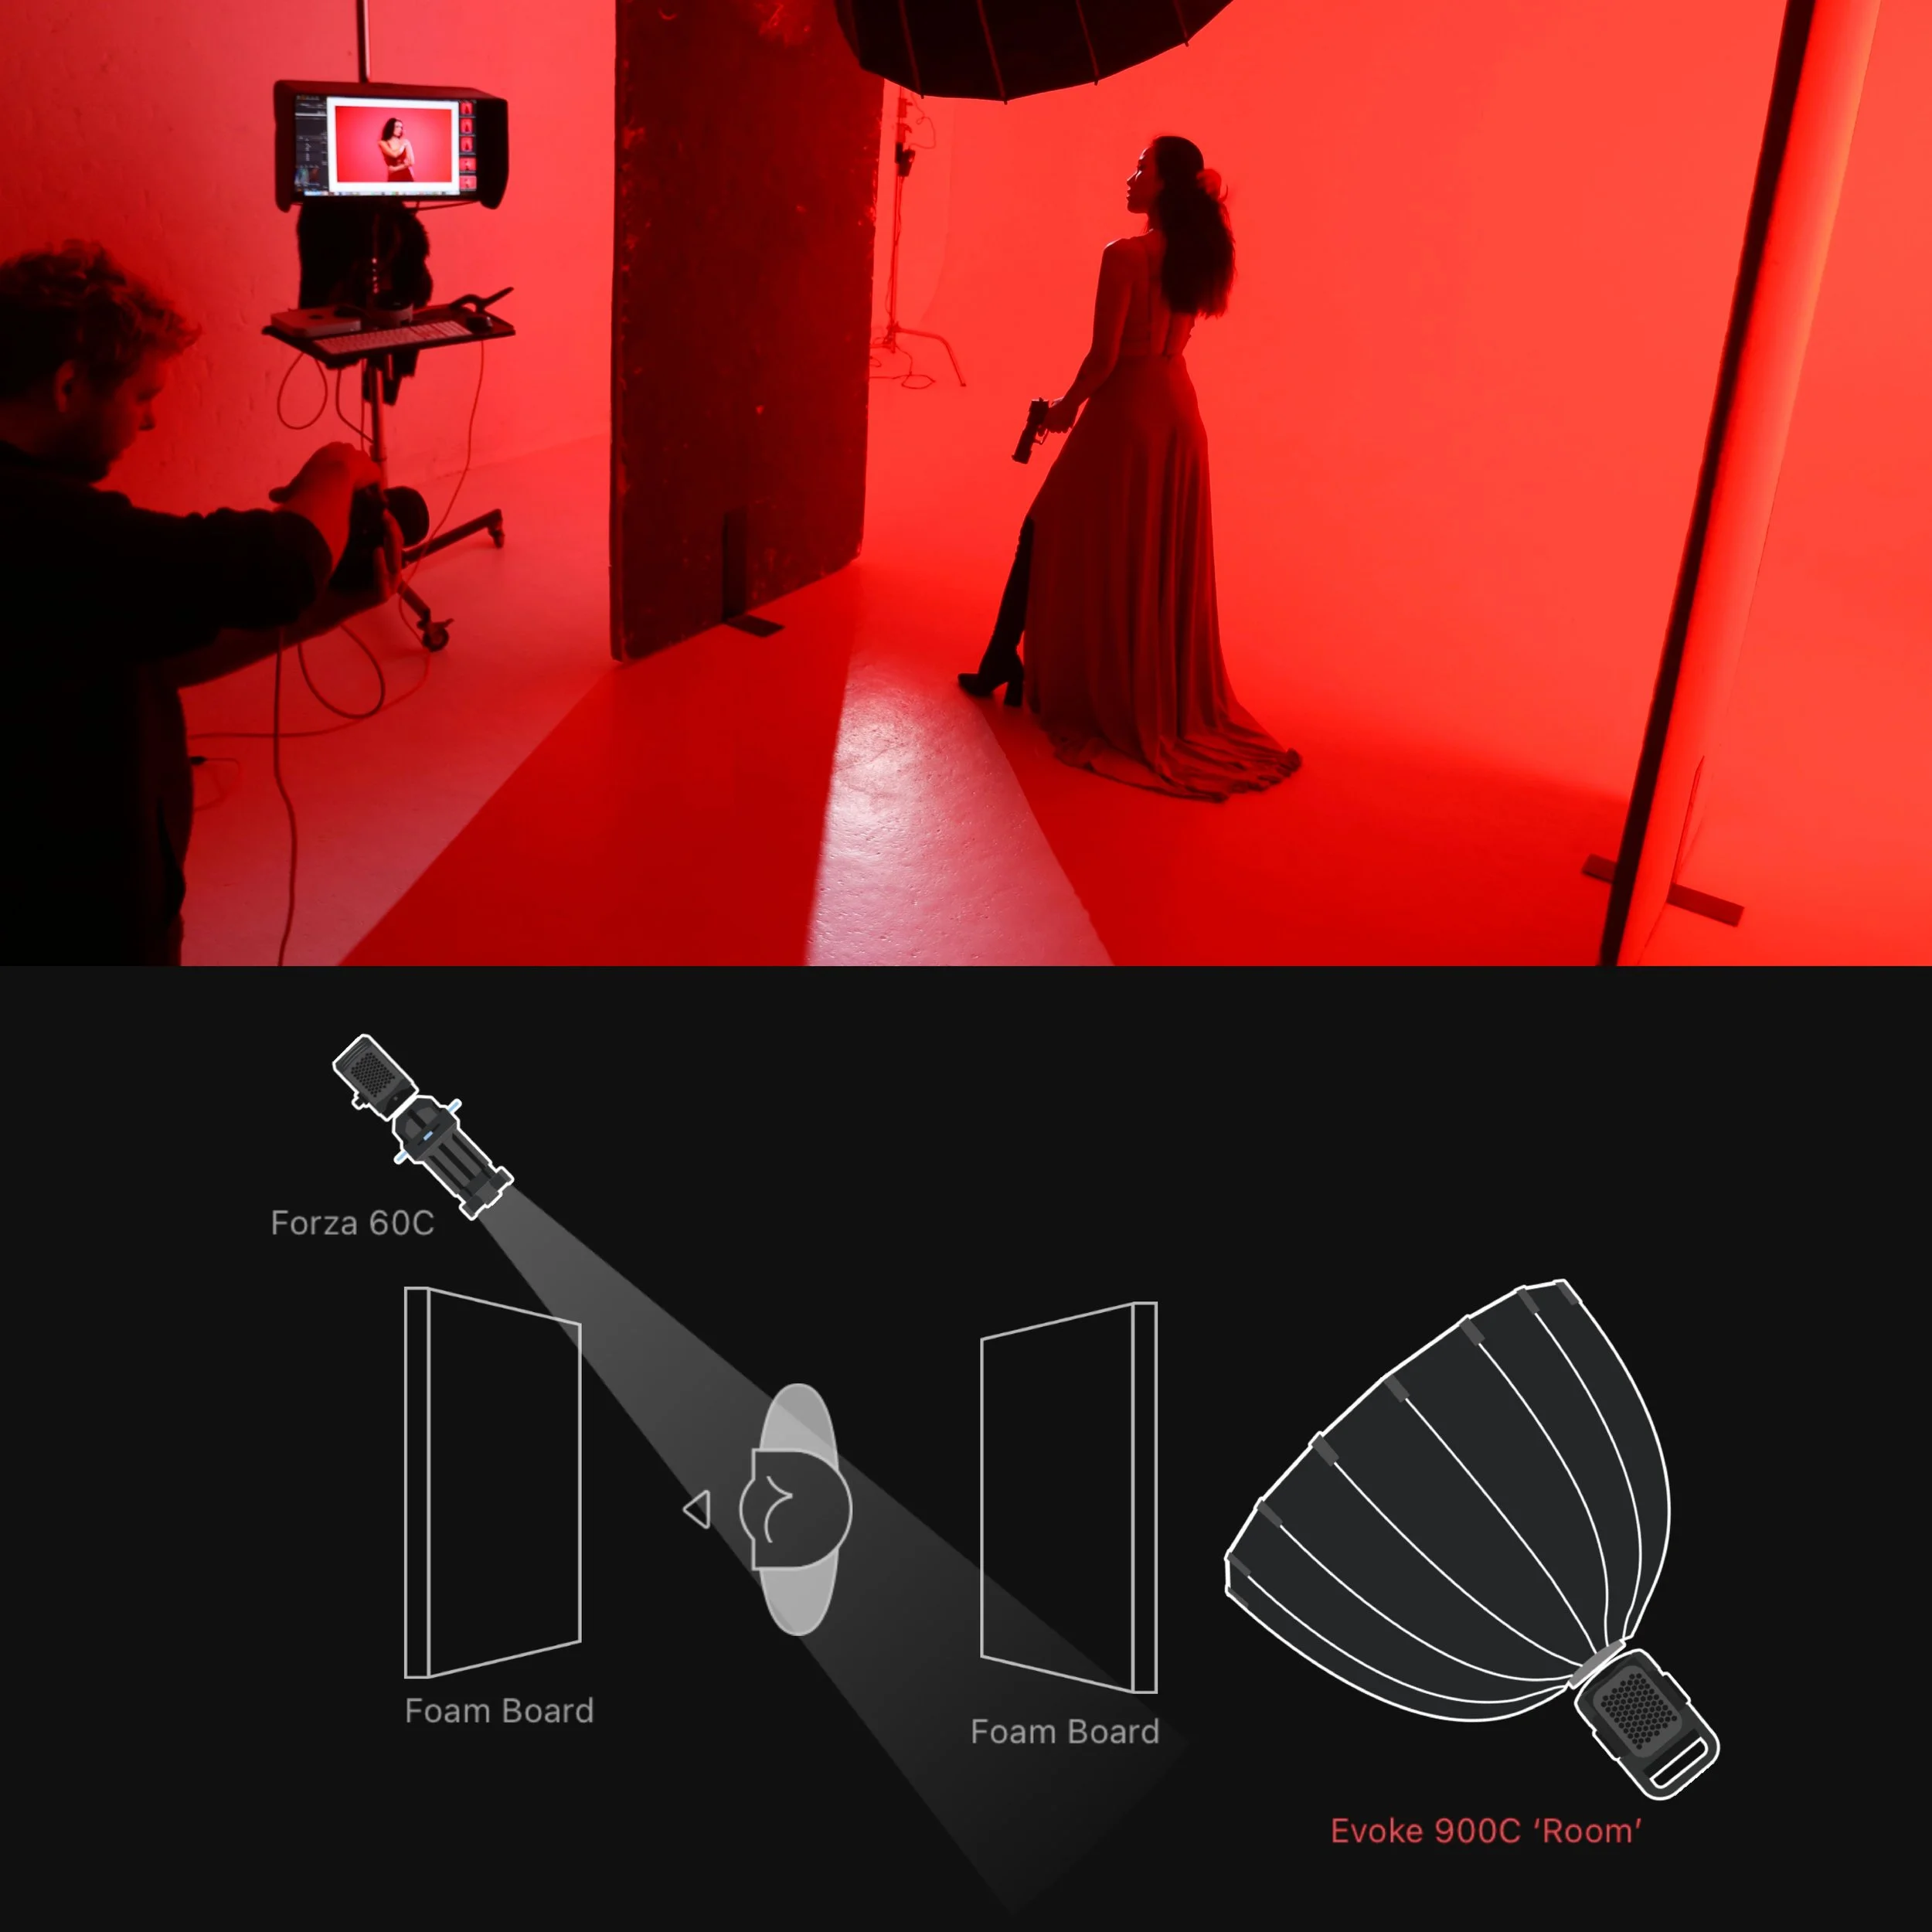
The entire backdrop was lit with a strong 500 RGB light set to a saturated red, positioned on the side, facing into the middle of the room, towards the ceiling. No key light was used, ensuring the subject remained in shadow.
TIP: Using a large white surface, such as a wall or ceiling, creates a room-filling soft glow, with minimal hot spotting, and is easy to control with polyboards.
Step 3.
Highlight / Rim Light (Small light with a Projection Mount or Fresnel)
A subtle, low-intensity rim light was placed slightly behind and off to the side of the subject to add back in a little bit of definition to the model’s features. Even in a high-contrast, silhouette shot, that whisper of light along her cheekbone keeps her face visible. We used a spotlight mount on an Forza 60C, tightening the spread with its internal barn doors to avoid spill. A Fresnel with barn doors can work just the same.
TIP: Think about how you’re wanting to use colour theory to influence the mood of your final image. Push into RGB for an deliberate accent (Pinks, purples) or use Bi-Colour, opting for a harmonious warm white, or a contrasting cool white.
Step 4.
Negative Fill
(Black Polyboards to absorb light spill)
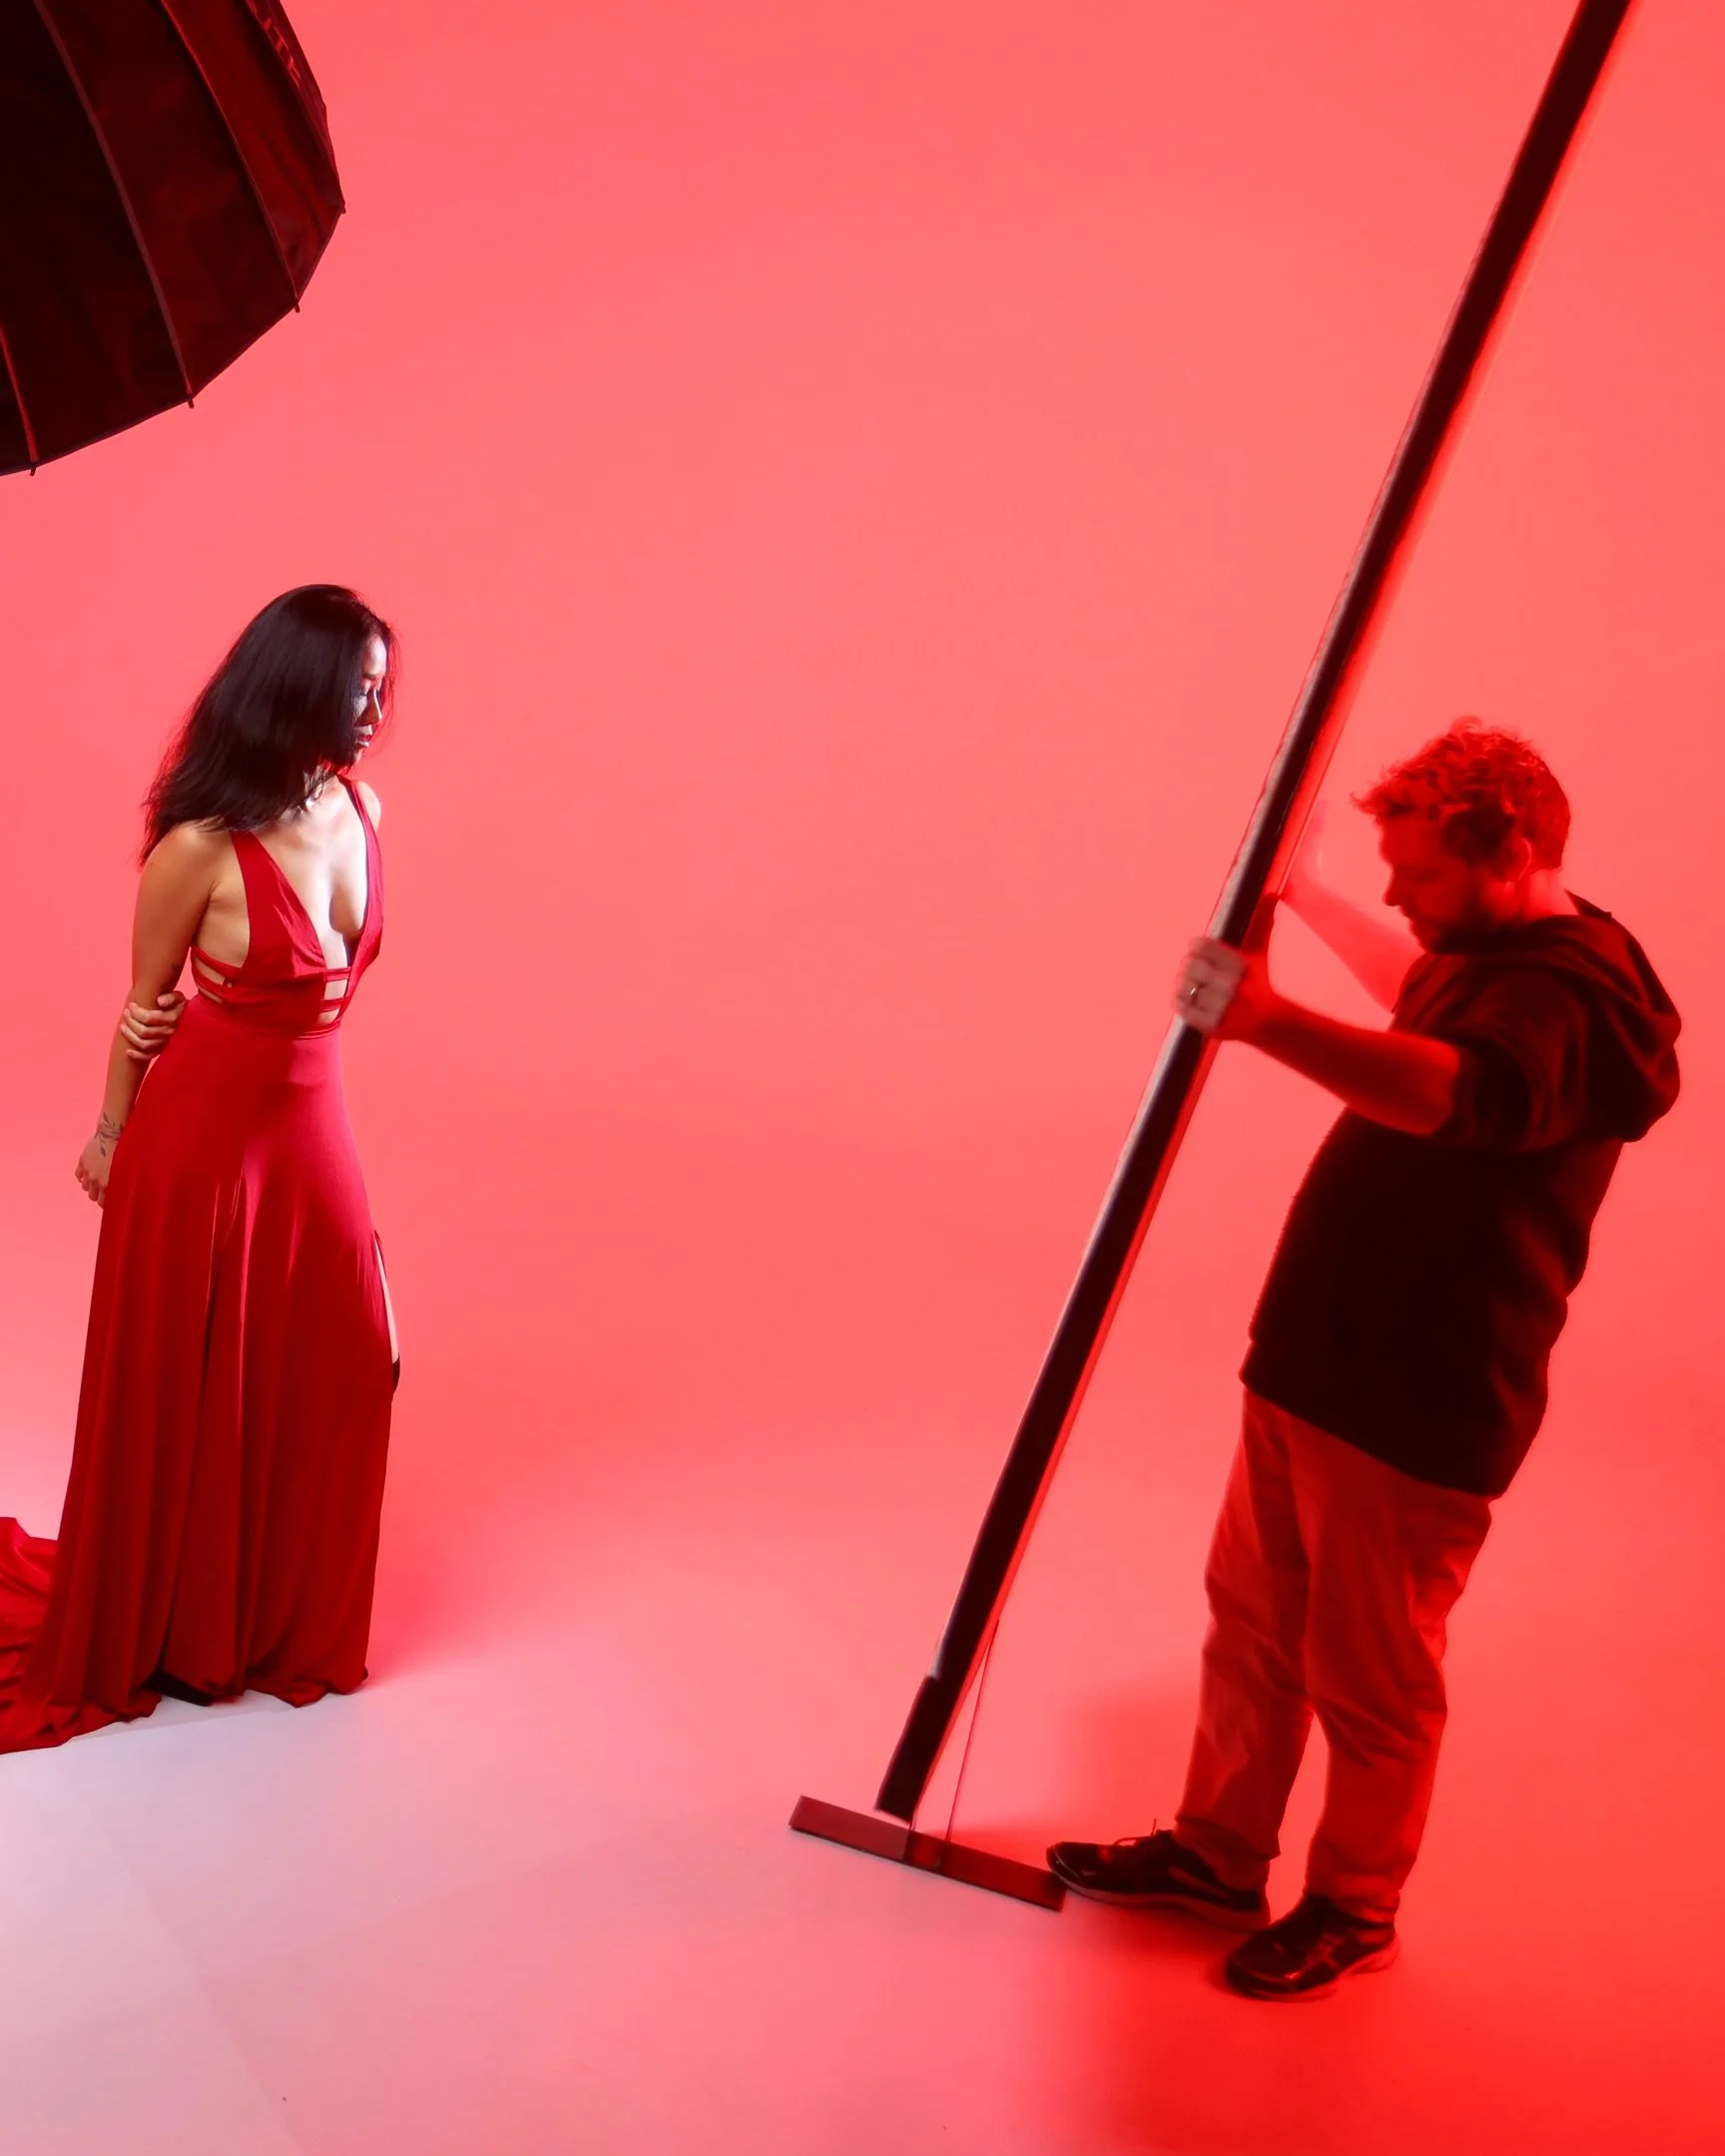
When shooting silhouettes, the amount of detail you keep in the shadows comes down to how you control unwanted light bounce. You can aim for pure, featureless black for maximum drama, or allow a touch of edge definition to preserve subtle shape and texture.
The biggest difference in these options is where you place your negative fill. Black reflectors or Polyboards work to absorb most light bounce, creating darker edges on your subject. The closer you position them to your subject, the deeper and cleaner the shadows will become, removing edge details and refining the silhouette.
TIP: Negative fill can come from any non-reflective black surface. In studios we traditionally use Polyboards, but you can also use 5-in-1 Reflectors, Black cardboard or even sheets of black fabric (such as curtains).
Gear List
-
Cyclorama, Wall or White Seamless Paper Backdrop
Position: Backdrop
Role: Smooth, black surface to light with custom colour
Colour: White
Why: Essential for smooth, consistent colour coverage
-
Polyboard, Foam board, vFlat, Flags
Position: Either side of the subject
Role: Control light spill
Colour: White & Black 2 sided
Why: Absorb light spill by creating a ‘Negative Fill’
-
Can use similar size RGB Monolight.
Modifier: Nanlite 120cm Rapid Parabolic Soft Box
Position: To the side, aimed at the centre of the ceiling
Role: Fill the room with coloured light
Colour: Red at approx. H: 0 / B: 100% / S: 100%
Why: Creates bright room filling colour without hot spotting.
-
Can use similar size RGB or Bi-Colour monolight
Modifier: Nanlite PJ-FZ60 Projection Attachment
Position: Angled, behind subject, positioned at face and body.
Colour: Cool White at approx. 6500K / B: 100%
Why: Bring out a little bit of the highlights in the face and body
-
Aperture: f/2.8
ISO: 500
Shutter Speed: 1/250s
-
Fixed lens at 50mm
Where to buy
Nanlite FC-500C Full Colour RGB LED Spotlight
Nanlite Forza 60C RGBLAC LED Spotlight
Nanlite 120cm Rapid Parabolic Soft Box
Nanlite Projection Attachment with 19 and 36 Degree Lens for Forza 60 FS60B FC60/120
Use code TDALES10 for 10% off
Summary:
This shoot was all about crafting a cinematic assassin vibe with nothing more than a killer red backdrop, a thrifted dress, and one perfectly chosen prop. I wanted an image that was character-driven, sexy and alluringly dangerous.
To match with the styling of the killer red dress, I went all-in on bright red to instantly set the mood, then added a precise rim light to give Ivy’s silhouette just enough edge without breaking the mystery. Black polyboards pulled the shadows in tight, turning the scene into pure drama.
That’s how you turn a simple RGB setup into something with real impact, it’s not just colour for colour’s sake, it’s about control, intention, and letting the light tell the story.
Summarised (I Ain’t Readin’ All That):
Sexy, mysterious and Deadly!
Taking inspiration from TV to create a cinematic, RGB-lit silhouette portrait. Add a subtle rim light for definition, and Black polyboards for deep negative fill.
What is RGB lighting?
RGB lighting is when you use red, green, and blue LEDs to create different colours on set. Mix them together, tweak the settings, and you’ve got full control over how your scene looks.
You can play with colour, build atmosphere, and get creative without needing a whole truckload of gear.
Basic to Elevation
RGB lighting is surprisingly easy to use, sometimes all it takes is turning on a single LED tube and letting the light bounce off the ceiling to instantly make a shot pop.
I’ve done shoots where that simple trick totally changed the vibe and made the photo stand out.
But if you want to really elevate your work, there are some next-level techniques I can teach you to take your photos beyond settling for ordinary - and push your creative boundaries.
